
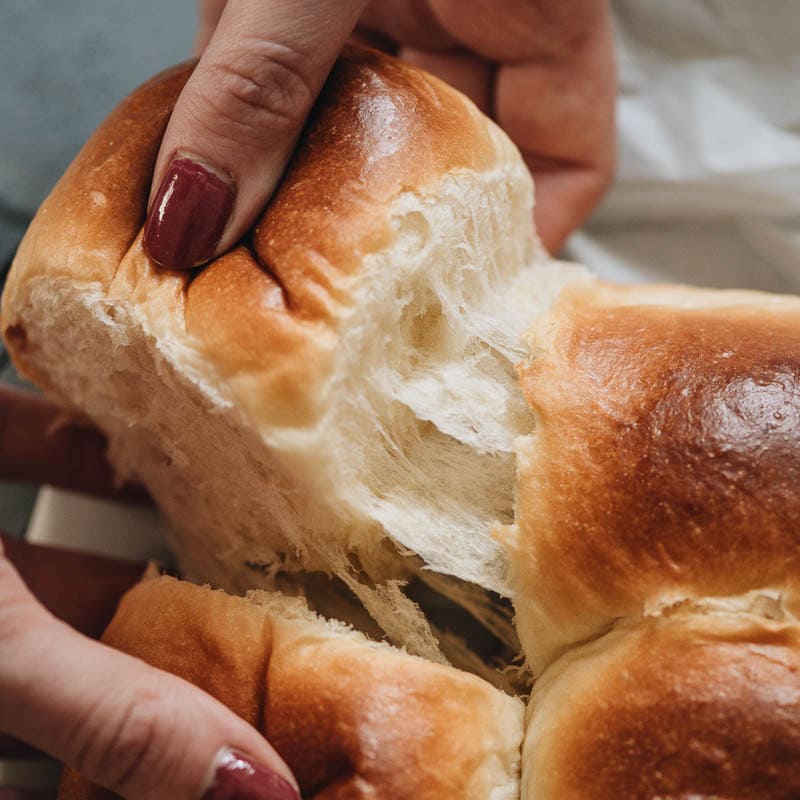
Milk bread rolls, known for their incredibly soft texture, delicate sweetness, and fluffy texture, are a delightful treat. This guide provides a comprehensive roadmap to crafting these delectable rolls in your own kitchen.
I. Introduction to Milk Bread Rolls
These pillowy rolls boast a unique texture achieved by enriching the dough with milk and butter. Unlike traditional bread, they have a subtle sweetness that makes them perfect for enjoying on their own or alongside savory dishes.
II. Gathering the Ingredients (Yields approximately 12 rolls)
To embark on this baking journey, you’ll need a few key ingredients:
2 ½ cups (312.5 grams) bread flour: Bread flour, known for its high gluten content, is essential in achieving beautifully risen rolls.
2 tablespoons (14 grams) dry milk powder: Incorporating dry milk powder enhances the richness and flavor, resulting in delectable rolls.
¼ cup (50 grams) granulated sugar: Adding just the right amount of sugar helps strike the perfect balance of subtle sweetness.
1 teaspoon (6 grams) table salt: The addition of salt elevates the overall flavor profile, enhancing the taste sensation.
1 tablespoon instant yeast: Instant yeast, chosen for its convenient nature, facilitates a quick and efficient rise during the baking process.
½ cup (113 grams) whole milk, lukewarm: Lukewarm whole milk brings a delightful richness and contributes to the soft texture of the rolls.
1 large egg: As a binding agent, the large egg plays a crucial role in bringing the ingredients together and adding moisture for a tender result.
4 tablespoons (57 grams) unsalted butter, softened: Softened butter provides a luscious richness and contributes to the creation of flaky layers in the rolls.
III. Essential Kitchen Equipment
Having the right tools makes baking a breeze. Here’s what you’ll need:
- Large mixing bowl: A spacious bowl allows for comfortable mixing of the dough.
- Measuring cups and spoons: Ensure accurate measurements for a successful outcome.
- Stand mixer with dough hook (optional): While not essential, a stand mixer makes kneading the dough a breeze.
- Baking sheet: A sturdy baking sheet ensures even heat distribution during baking.
- Plastic wrap: This helps create a warm and humid environment for the dough to rise.
- Pastry brush (optional): A pastry brush simplifies brushing the rolls with milk wash before baking.
IV. Understanding Tangzhong
Tangzhong is a pre-fermented roux made with flour and milk. While not mandatory, it contributes to the exceptional softness and moisture content of the rolls.
-
Activate the Yeast: If using active dry yeast (not instant), combine it with warm water and a pinch of sugar in a small bowl. Let it sit for 5-10 minutes until foamy. This activates the yeast and ensures it’s alive and ready to leaven the dough.
-
Combine Dry Ingredients: In your large mixing bowl, whisk together the bread flour, dry milk powder, sugar, and salt. This incorporates air and evenly distributes the dry ingredients.
-
Incorporate Wet Ingredients: If using active dry yeast, add the activated yeast mixture to the dry ingredients. Then, pour in the lukewarm milk, egg, and softened butter. If using instant yeast, you can add it directly to the dry ingredients along with the other wet ingredients.
V. Kneading and Achieving Perfect Dough Consistency
-
Mixing by Hand or Stand Mixer: Using a dough hook attachment on a stand mixer (on low speed) or by hand, begin mixing the wet and dry ingredients until a shaggy dough forms.
-
Kneading for Elasticity: Transfer the dough to a lightly floured surface and knead for 8-10 minutes. The dough will initially be sticky, but will become smoother and more elastic with kneading. You can test for readiness by gently pulling a small piece of dough – if it stretches thin without tearing, it’s kneaded enough.
-
Rest and Rise for Fluffy Perfection: Lightly grease your large mixing bowl. Place the kneaded dough in the bowl, turning it once to coat it with oil. Cover the bowl with plastic wrap and place it in a warm, draft-free spot for the first rise. The dough should double in size, which takes about 1-2 hours.
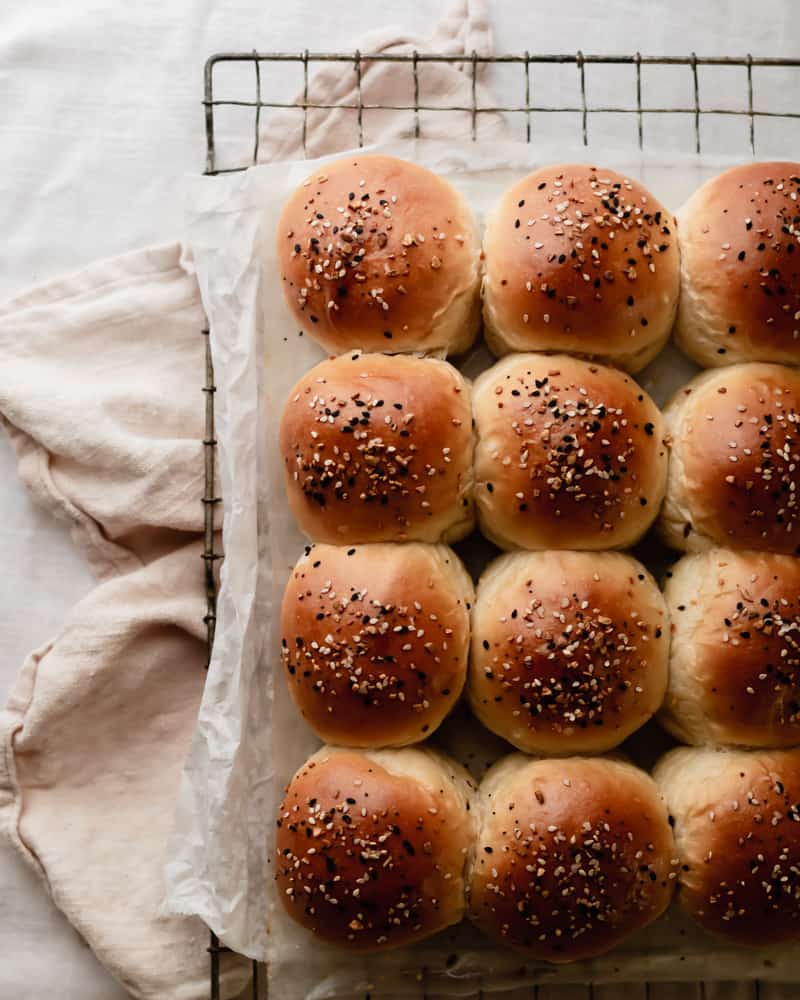
VI. Shaping the Rolls: From Dough to Individual Pillows
- Punch Down the Dough: After the first rise, carefully deflate the dough by firmly punching down on it in the center. This action effectively releases the trapped air bubbles, ensuring a consistent texture throughout.
Dividing the Dough: Transitioning to the next step, transfer the dough onto a lightly floured surface. Next, evenly divide the dough into 12 equal pieces employing a sharp knife or a handy bench scraper.
Shaping into Rolls: Once divided, proceed to shape each piece into a smooth ball. To achieve a round shape, skillfully cup your hand around the dough and gently rotate it in a circular motion on the work surface.
VII. Second Rise: Witnessing the Magic of Expansion
-
Maintaining Warmth and Humidity: Cover the baking sheet loosely with plastic wrap to create a warm and humid environment that facilitates the second rise.
-
Final Puff Before Baking: Let the rolls rise for another 30-45 minutes, or until they’ve nearly doubled in size again. This second rise ensures light and fluffy rolls.

VIII. Baking to Golden Perfection
-
Preheat the Oven: While the rolls undergo their second rise, preheat your oven to 350°F (175°C). This ensures the oven is at the optimal temperature for baking.
-
Egg Wash for a Golden Glow: In a small bowl, whisk together one egg yolk with a tablespoon of milk or water. This creates an egg wash that can be brushed on the rolls for a beautiful golden brown color after baking.
-
Baking for Delicious Results: Brush the tops of the rolls gently with the egg wash (if using). Bake the rolls for 20-25 minutes, or until golden brown on top.
IX. Cooling and Enjoying Your Homemade Masterpiece
-
Letting the Rolls Rest: Once baked, remove the rolls from the oven and transfer them to a wire rack to cool slightly. This allows the interior to finish cooking without becoming soggy.
-
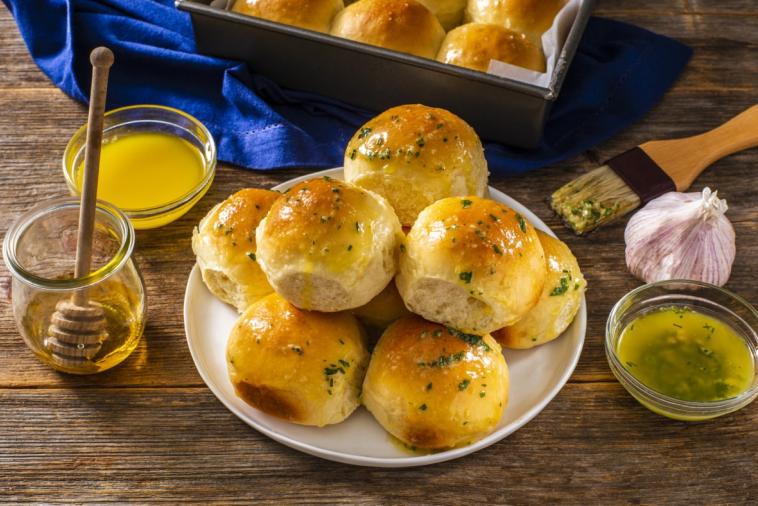
Warm or Room Temperature Bliss: Enjoy your homemade milk bread rolls warm or at room temperature. They’re perfect on their own or smeared with butter, jam, or honey.
-
Versatility Beyond Breakfast: Milk bread rolls are incredibly versatile. They can be enjoyed for breakfast, as burger buns, or alongside soups and stews.
X. Tips and Tricks for Baking Success
-
- Warm Ingredients Promote Rising: Using lukewarm milk and slightly softened butter encourages optimal yeast activity for a good rise.
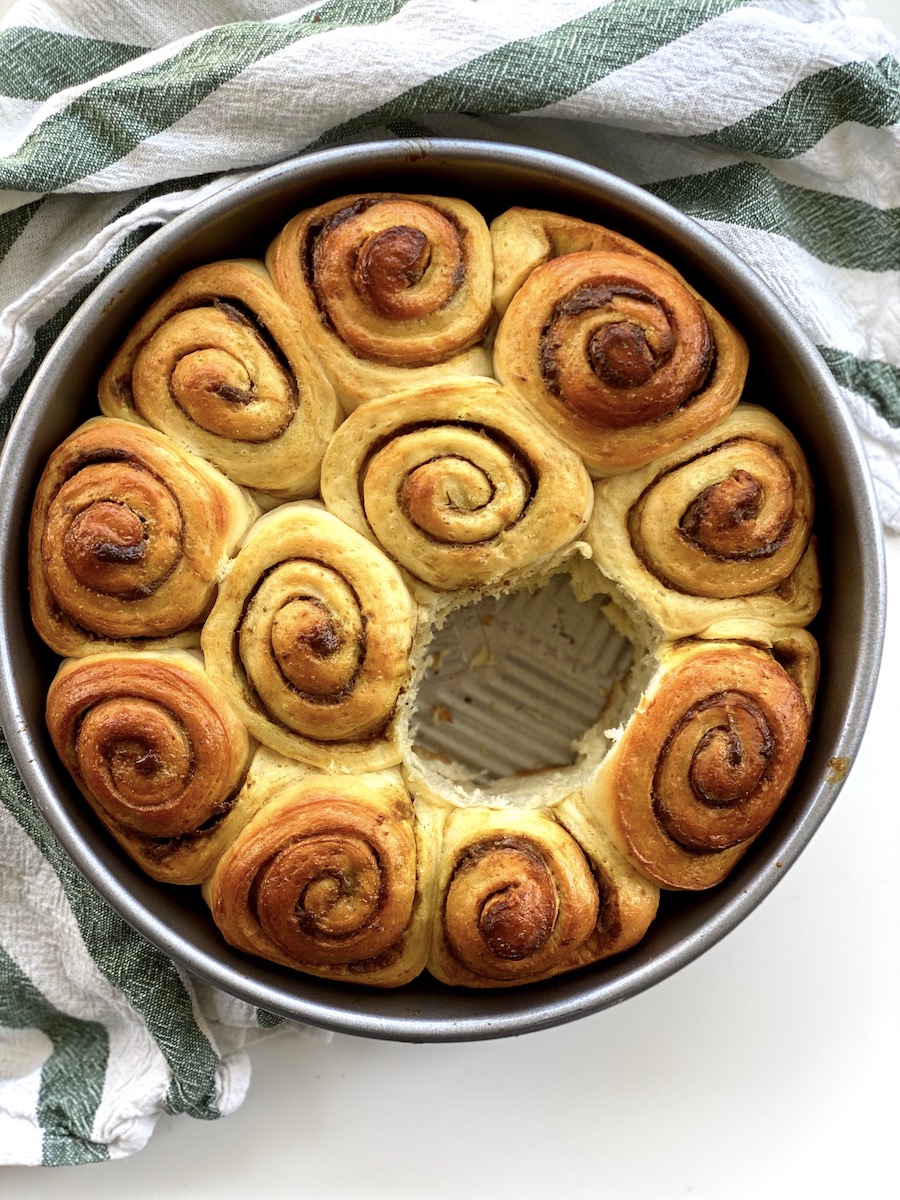
- Sweet Variations: For a sweeter twist, add a tablespoon of honey or maple syrup to the dough along with the wet ingredients. You can also sprinkle coarse sugar on top of the rolls before baking for a delightful crunch.
- Savory Options: For savory rolls, consider adding grated cheese, chopped herbs, or even everything bagel seasoning to the dough.
- Filling Inspiration: Get creative with fillings! These rolls can be stuffed with savory ingredients like meats and cheeses, or sweet fillings like chocolate chips or fruit jams.Kneading is Key: Proper kneading develops the gluten structure, resulting in light and fluffy rolls.
-
Oven Temperature Matters: Ensure your oven is fully preheated before baking. The correct temperature guarantees even baking and a beautiful rise.
- Brushing for Shine: While egg wash is optional, it adds a touch of shine and richness to the finished rolls.
- Under-bake for Softness: Err on the side of slightly under-baking the rolls. They will continue to firm up as they cool on the wire rack.
-
- Warm Ingredients Promote Rising: Using lukewarm milk and slightly softened butter encourages optimal yeast activity for a good rise.