
Introduction
As the summer sun casts its golden glow upon the world, nature’s bounty bursts forth in a symphony of colors and flavors. Among this vibrant array of seasonal delights, pears hold a special place, their delicate fragrance and sweet-tart flesh beckoning us to indulge in their culinary versatility. Today, we embark on a delightful journey to transform these humble fruits into a masterpiece of preservation – pear jam. Prepare to awaken your taste buds and discover the secrets to crafting a jam that will tantalize your senses and linger long in your memory.
Ingredients
Before embarking on our culinary adventure, let’s gather the essential ingredients that will transform ordinary pears into an extraordinary jam.
-
Pears: The foundation of our jam, select ripe but firm pears that offer a balance of sweetness and structure. Look for varieties like Bartlett, Bosc, or Anjou, their flesh yielding to gentle pressure and exuding a tantalizing aroma.
-
Sugar: The key to balancing the tartness of the pears, sugar plays a crucial role in achieving the desired sweetness level. Adjust the quantity to your personal preference, considering the ripeness of the pears and your desired sweetness profile.
-
Lemon Juice: A touch of citrus magic, lemon juice enhances the flavor of the jam while also acting as a natural preservative, extending its shelf life. Freshly squeezed lemon juice is the preferred choice, ensuring a bright and zesty flavor profile.
-
Spices (Optional): Elevate your jam to new heights of flavor with a touch of warmth and complexity. Cinnamon, cloves, nutmeg, or ginger can add intriguing depth and dimension, transforming your jam into a culinary masterpiece.
Preparation
With our ingredients assembled, let’s set the stage for our jam-making adventure.
-
Gather Equipment: Assemble the necessary tools and equipment to ensure a smooth and efficient process. A large pot, a sturdy spoon, measuring cups and spoons, and clean jars with lids are essential components of our jam-making arsenal.
-
Prepare the Pears: Wash the pears thoroughly to remove any surface dirt or residue. Peel, core, and chop the pears into desired chunks, whether you prefer a smooth, spreadable jam or a rustic, chunky texture.
-
Sterilize Jars: Ensure food safety by sterilizing the jars that will house your culinary creation. To sterilize, wash the jars and lids in hot, soapy water, then rinse them thoroughly. Place the jars and lids in a boiling water bath for 10 minutes, allowing them to steam dry completely before filling.
Cooking
Now, we embark on the transformation of humble pears into a delectable jam.
-
Combine Ingredients: In a large pot, combine the prepared pears, sugar, lemon juice, and any desired spices. Bring the mixture to a rolling boil over medium-high heat, stirring frequently to prevent scorching.
-
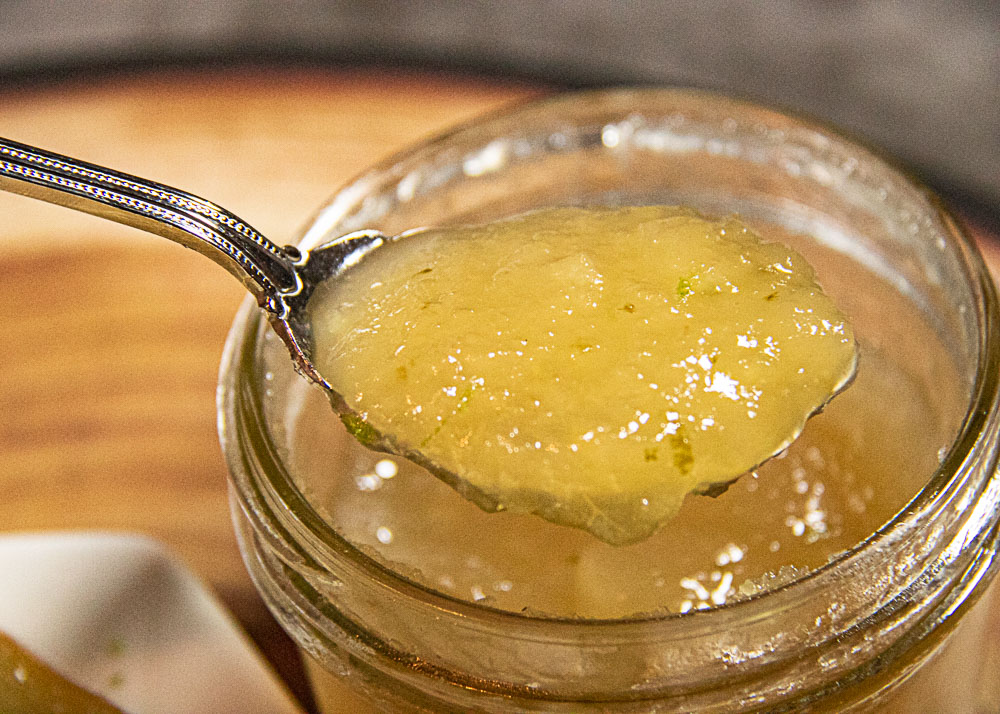
Simmer and Stir: Once the mixture reaches a boil, reduce the heat to low and simmer, stirring occasionally, until the jam reaches the desired consistency. For a smoother jam, continue simmering until the pears are completely softened and the mixture has thickened significantly. If you prefer a chunky jam, allow some pear pieces to retain their shape.
-
Monitor for Thickness: To determine if your jam has reached the desired consistency, utilize a candy thermometer or the “cold spoon test.” Insert the thermometer into the jam, ensuring it doesn’t touch the bottom of the pot. If the jam reaches 220°F (104°C), it is ready. For the cold spoon test, place a dollop of jam on a cold spoon and freeze it for a few minutes. If the jam wrinkles and holds its shape when you tilt the spoon, it is ready.
Preserving
With our jam perfectly cooked, it’s time to seal the fate of our culinary masterpiece.
-
Fill Jars: Carefully ladle the hot jam into the sterilized jars, leaving about ¼ inch of headspace at the top.
-
Wipe Rims: Remove any excess jam from the rims of the jars using a clean, damp cloth. This ensures a proper seal and prevents mold growth.
-
Process Jars: Employ a water bath or pressure canner to preserve the jam safely. For a water bath, fill a large pot with enough water to cover the jars by at least 2 inches. Bring the water to a boil, carefully place the jars into the pot, and process for 10 minutes. For a pressure canner, follow the manufacturer’s instructions for processing jam at the appropriate pressure and time.
- Pantry Storage: Unopened jars of pear jam can be stored in a cool, dark place, like a pantry, for up to a year. The low light and consistent temperature will help preserve the jam’s vibrant color and flavor profile.
Serving
Now comes the delightful part – unleashing the flavors of your creation upon the culinary world.
-
Spread on Toast: Pair the pear jam with warm, toasted bread for a simple yet delightful breakfast or afternoon snack. The sweetness of the jam perfectly complements the warm, comforting texture of the toast.
-
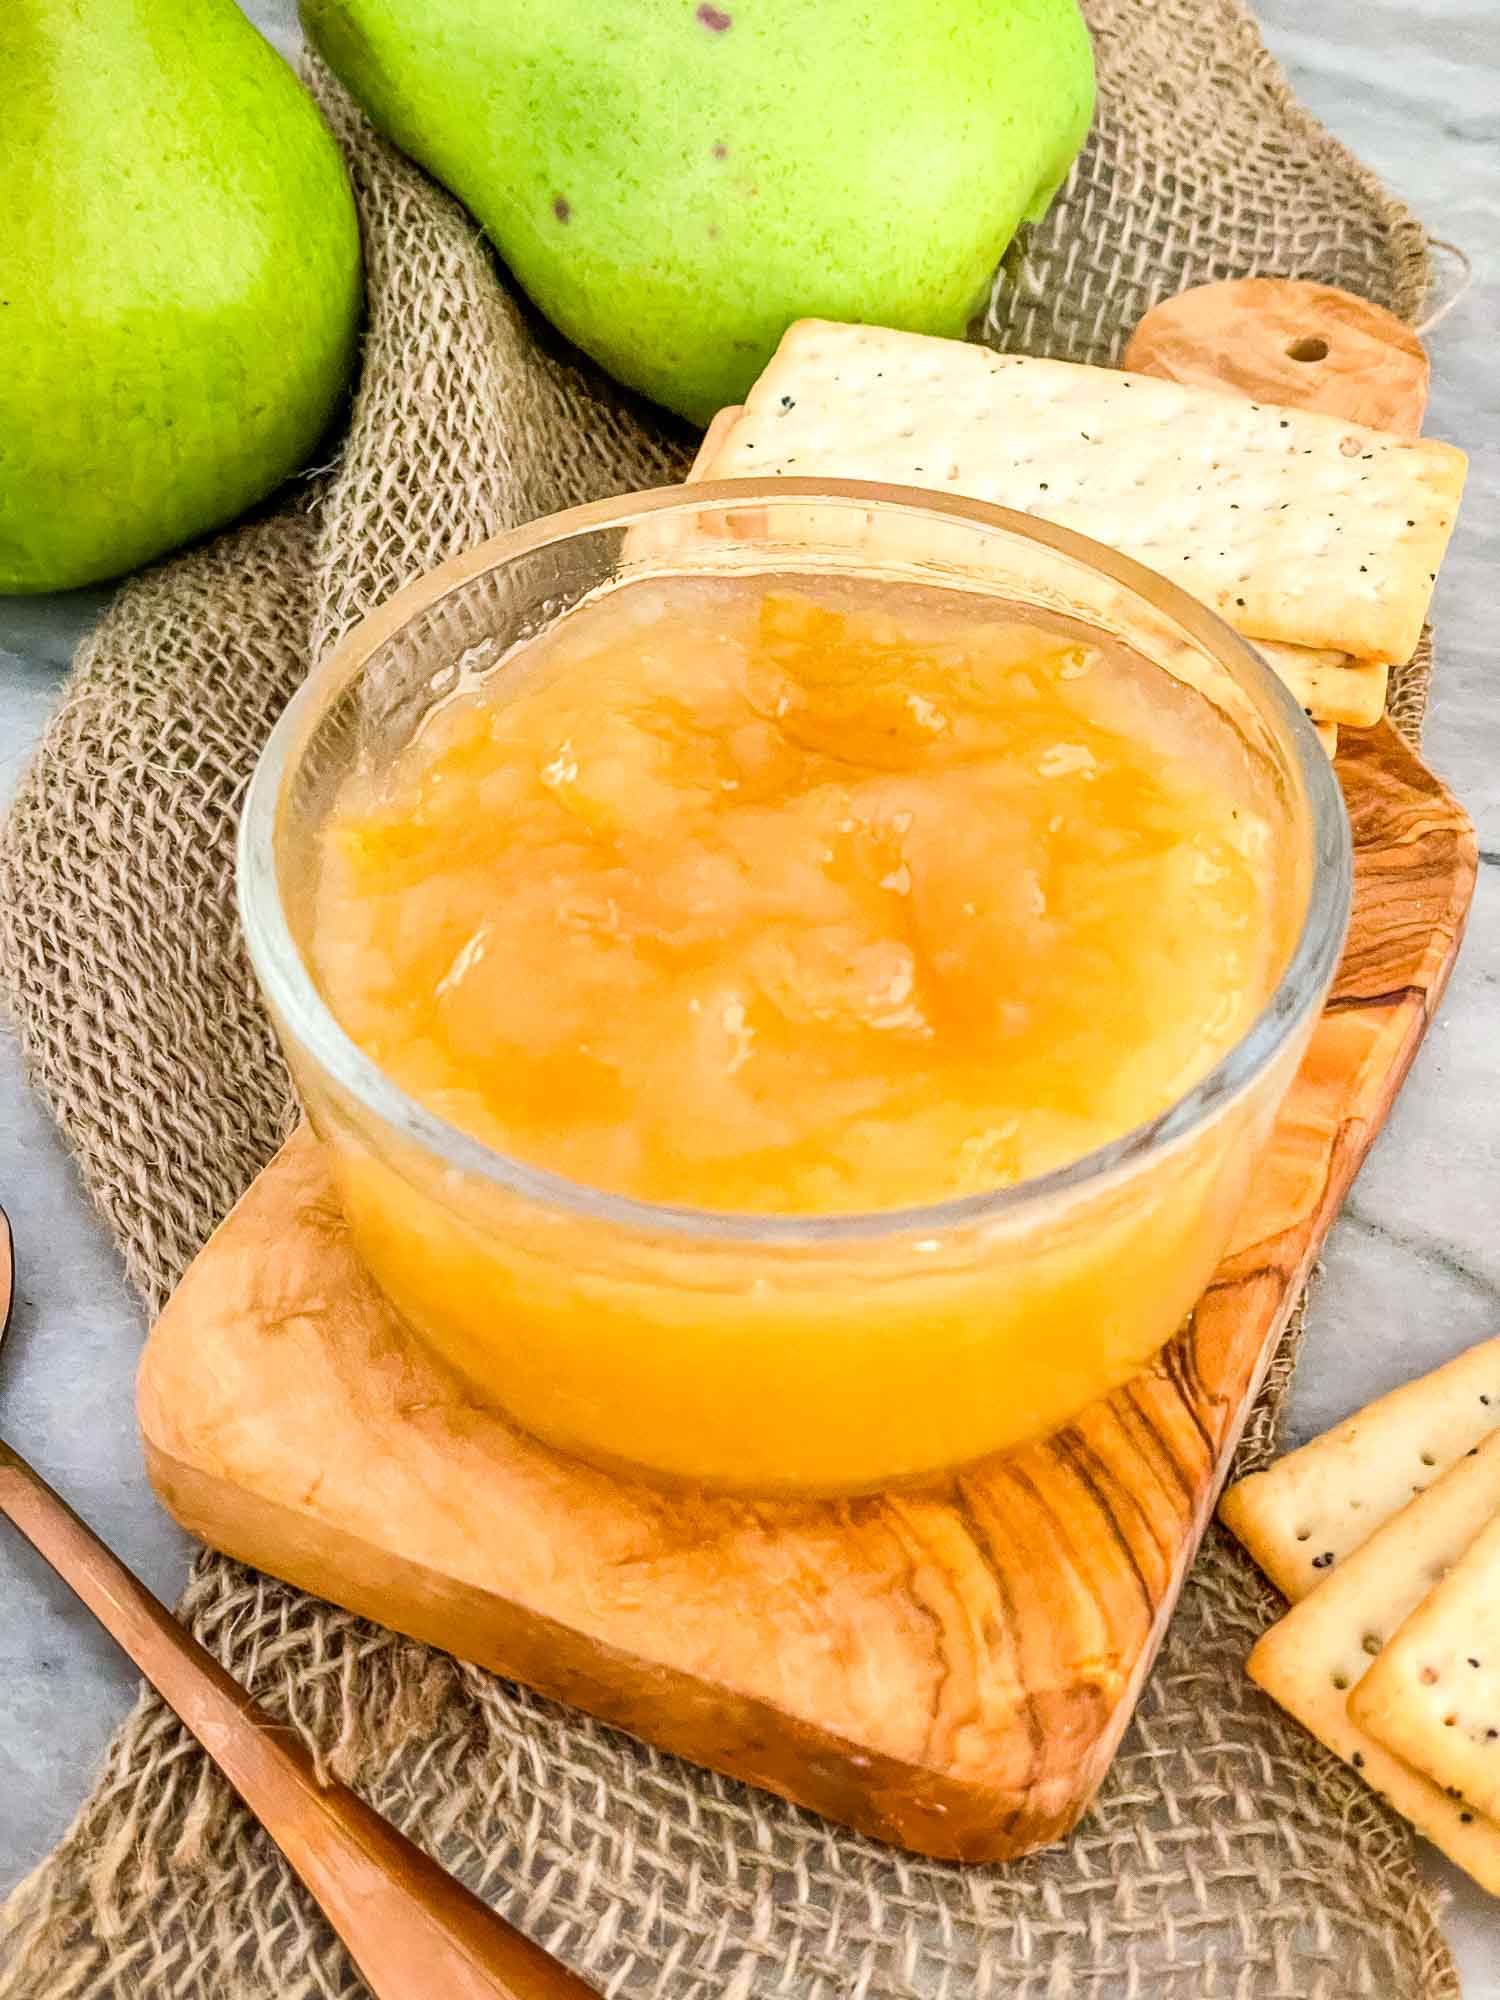
Accompany Cheese: Elevate your cheese platter with the sweet and tart notes of pear jam. The vibrant flavors of the jam create a delightful contrast with a variety of cheeses, from creamy brie to sharp cheddar.
-
Incorporate into Desserts: The versatility of pear jam extends far beyond breakfast spreads. Elevate cakes, pastries, or ice cream with the jam’s flavor. Swirl it into cake batter for a burst of fruity sweetness, use it as a filling for pastries, or drizzle it over a scoop of ice cream for a decadent dessert experience.
Variations
Embrace the endless possibilities of flavor combinations by exploring variations on our classic pear jam recipe.
-
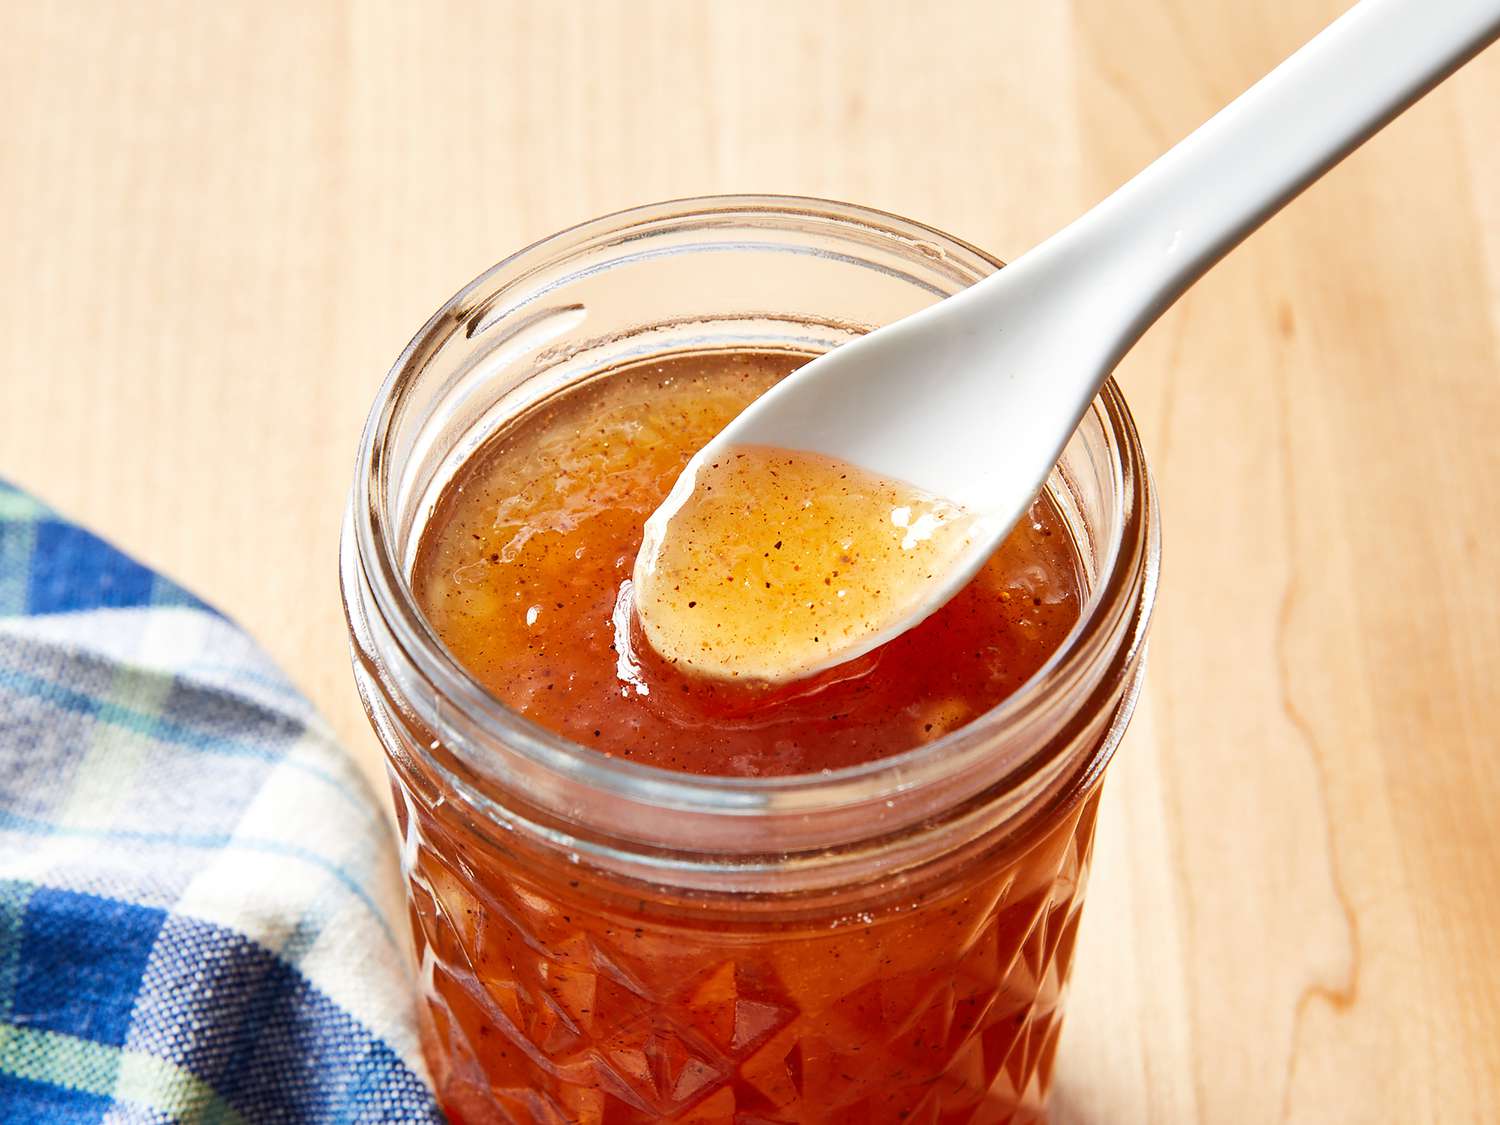
Spiced Pear Jam: Add a touch of warmth and complexity by incorporating spices like cinnamon, cloves, or nutmeg during the cooking process. These spices will infuse the jam with a cozy, autumnal flavor profile.
-
Vanilla Pear Jam: Enhance the sweetness and introduce a touch of elegance with a hint of vanilla extract. Vanilla complements the pear flavor beautifully, creating a smooth and sophisticated jam.
-
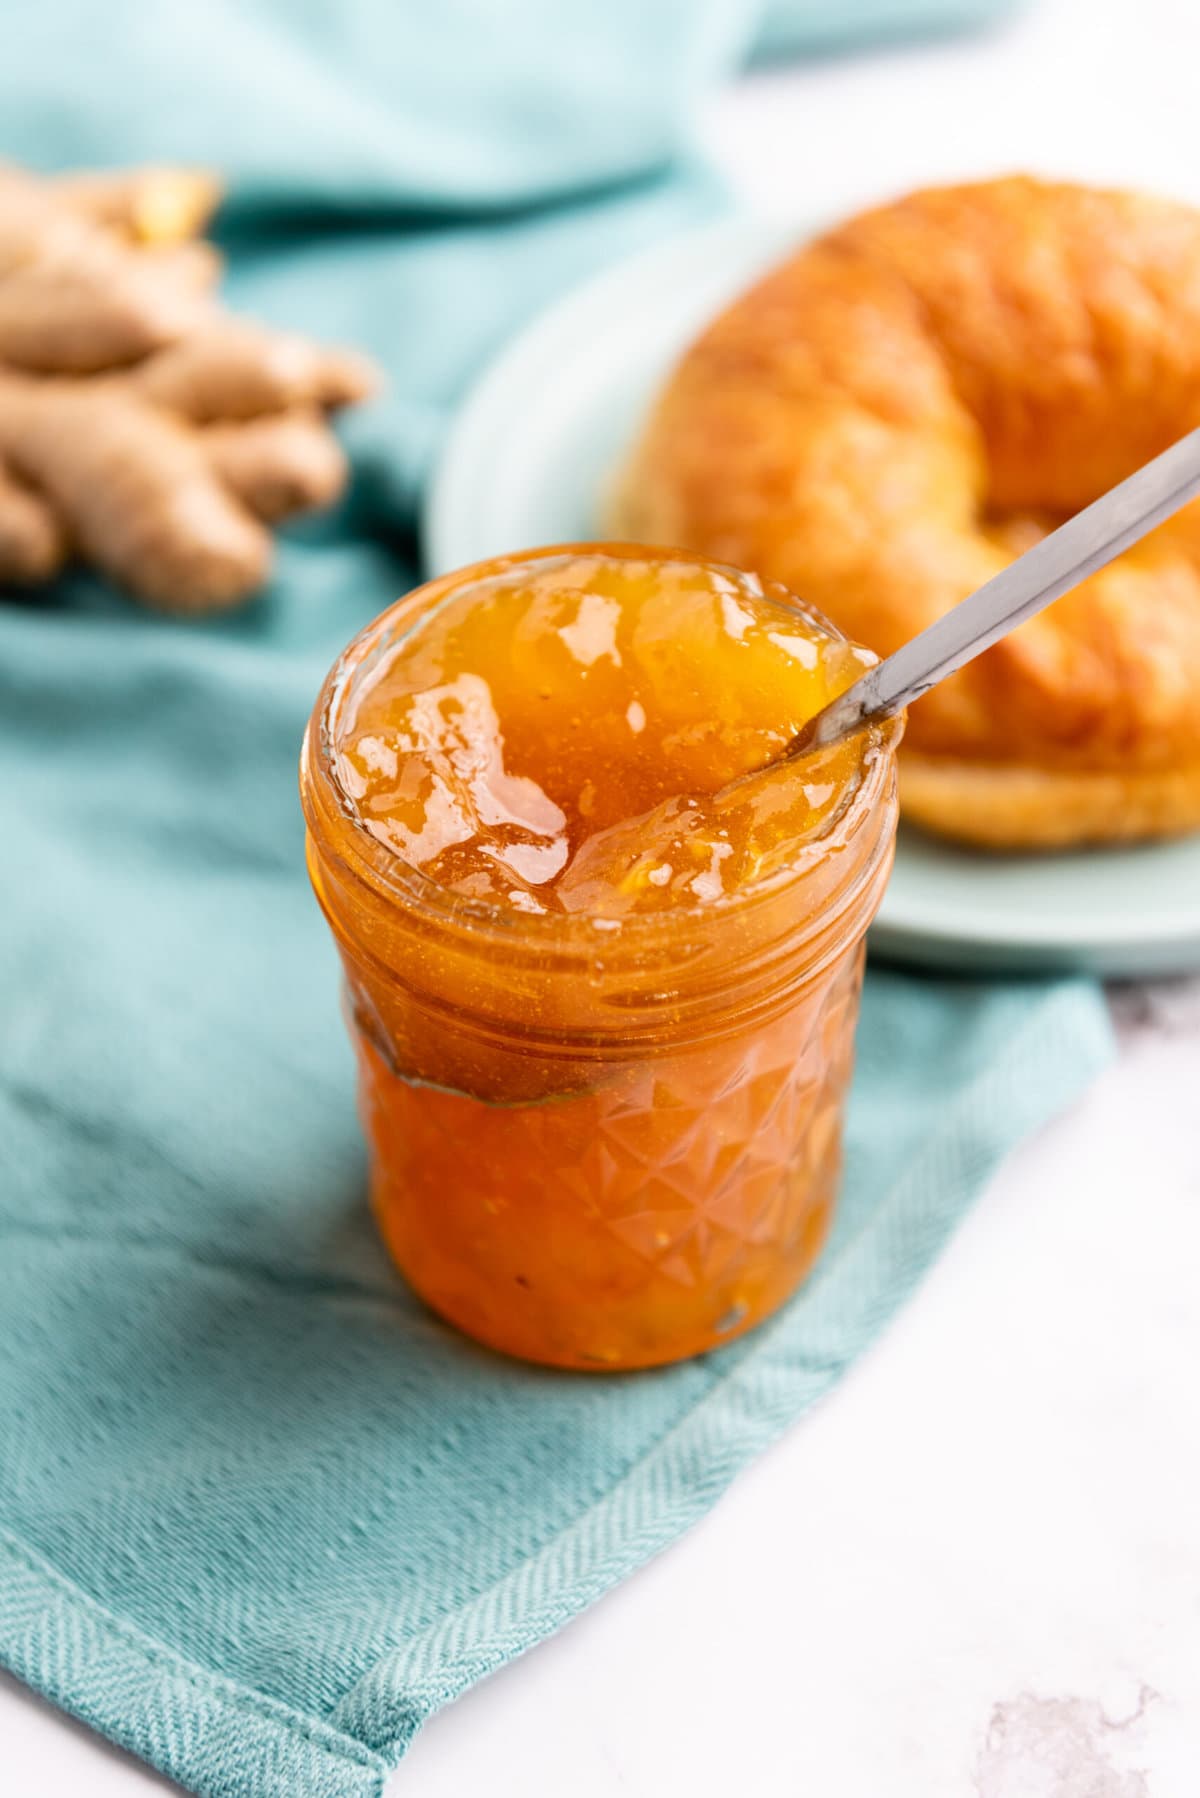
Ginger Pear Jam: Introduce a zesty kick to your jam by adding grated ginger during the cooking process. The ginger’s zing perfectly balances the sweetness of the pears, resulting in a unique and intriguing flavor combination.
Tips and Tricks
Elevate your jam-making skills further with these insider secrets:
-
Pear Selection: For the best texture, choose pears that are ripe but still firm. Overripe pears will result in a mushy jam, while unripe pears will take longer to soften and may not achieve the desired sweetness level.
-
Sugar Adjustments: Tailor the sugar quantity to your preferred sweetness level. Start with a slightly lower amount of sugar than you think you might need, and taste the jam as it cooks. You can always add more sugar for additional sweetness.
-
Cooking Time: Monitor the jam closely to achieve the desired consistency. If you prefer a thicker jam, simmer it for a longer period. Remember, the jam will continue to thicken as it cools.
-
Troubleshooting: Common issues like jam not setting or mold growth can be addressed. If your jam isn’t setting, it might not have cooked long enough. Reheat the jam and bring it to a full rolling boil for a few minutes. Mold growth indicates improper sealing or storage. Discard the affected jam and ensure proper sterilization and sealing techniques for future batches.
Conclusion
Celebrate the culinary triumph of your homemade pear jam – a delectable creation born from fresh fruit, a touch of sweetness, and a dash of creativity. Savor the flavors of a jam crafted with love and care, the sweet-tart notes lingering on your palate long after the last bite. Share your creation with friends and family, spreading the joy of jam-making and the simple pleasures of home-cooked delights.
Additional Notes
Here are some additional tips for a successful pear jam experience:
-
Consider using a food processor to achieve a smooth jam texture, especially if you prefer a spreadable consistency.
-
Adjust the cooking time based on the desired level of pear chunks. If you prefer a chunky jam, chop the pears into larger pieces and simmer for a shorter time to retain their shape.
-
Experiment with different spices and flavor combinations to suit your taste preferences. Lavender, cardamom, or even a splash of brandy can add unique and interesting notes to your jam.
With a little practice and a spirit of culinary exploration, you can master the art of pear jam making and create a delicious addition to your pantry. So, gather your ingredients, unleash your creativity, and embark on a delightful journey into the world of homemade jams!