Bread machine yeast rolls offer a delightful combination of convenience and deliciousness. Using a bread machine takes the kneading and initial rising out of the equation, making these rolls perfect for busy weeknights or weekend baking projects. This guide provides a step-by-step approach to crafting these fluffy treats in your own kitchen.
Gathering the Ingredients
To embark on your bread machine journey, you’ll need these key ingredients:
- 3 cups (375 grams) bread flour: Bread flour provides the necessary gluten structure for these rolls to rise beautifully.
- 1 ½ teaspoons (7 grams) active dry yeast: Active dry yeast creates the leavening that helps the rolls rise.
- 1 ½ teaspoons (7.5 grams) granulated sugar: A touch of sugar feeds the yeast and contributes a subtle sweetness.
- 1 ½ teaspoons (7.5 grams) table salt: Salt balances the flavor and enhances the other ingredients.
- 1 ¼ cups (295 grams) warm water: Warm water activates the yeast and creates a moist dough.
- 3 tablespoons (42 grams) unsalted butter, softened: Softened butter adds richness and tenderness to the rolls.
- 1 large egg: The egg binds the ingredients and adds moisture.
Essential Equipment: Your Baking Arsenal
Having the right tools on hand simplifies the process. Here’s what you’ll need:
- Bread machine: The star of the show! Ensure your bread machine has a “Dough” or similar setting.
- Measuring cups and spoons: Accurate measurements are crucial for successful baking.
- Mixing bowl (optional): A bowl is handy for briefly kneading the dough after it comes out of the bread machine.
- Baking sheet: A sturdy baking sheet ensures even heat distribution during baking.
- Plastic wrap or damp cloth: This helps create a warm and humid environment for the rolls to rise.
- Pastry brush (optional): A pastry brush simplifies brushing the rolls with butter or milk before baking.
Preparing the Ingredients for Success
Before diving in, take a moment to prepare your ingredients:
- Measure Precisely: Using accurate measuring cups and spoons is essential. Too much flour can result in a dense dough, while too little can make it sticky.
- Warm Up the Water: The water temperature should be lukewarm, around 105°F (40°C). This activates the yeast without killing it.
- Activate the Yeast (if using): If using active dry yeast, combine it with a pinch of sugar in some of the warm water. Let it sit for 5-10 minutes until foamy. This ensures the yeast is alive and ready to work its magic.
Utilizing the Bread Machine: A Hands-Off Approach
Now comes the beauty of using a bread machine!
-
Adding Ingredients: Follow your bread machine’s instructions for adding ingredients. Typically, wet ingredients go in first, followed by dry ingredients, and finally the yeast (if activated separately).
-
Selecting the Cycle: Locate the “Dough” cycle or a similar setting on your bread machine. This cycle kneads the dough for you, saving you time and effort.
-
Let the Machine Work Its Magic: Relax and let the bread machine do its job. It will automatically knead and rise the dough for a set amount of time (usually around 1-2 hours).

Shaping the Rolls: From Dough to Individual Delights
Once the bread machine finishes its cycle, it’s time to shape your rolls:
-
Lightly Flour a Surface: Dust a clean work surface with a light sprinkle of flour to prevent the dough from sticking.
-
Transfer and Knead Briefly: Remove the dough from the bread machine pan and place it on the floured surface. Gently knead the dough for a minute or two to smooth it out.
-
Divide and Shape into Rolls: Divide the dough into equal portions, aiming for 12-16 rolls depending on your desired size.
-
Forming Perfect Spheres: Gently roll each dough portion into a smooth ball. Use your cupped hands to create a round shape by moving the dough in a circular motion on the work surface.
Witnessing the First Rise: Patience Rewarded
Now comes the first rise outside of the bread machine:
-
Arrange on a Baking Sheet: Place the shaped rolls on a greased baking sheet, leaving a couple of inches of space between them. This allows room for them to expand during rising.
-
Create a Warm and Humid Environment: Cover the baking sheet loosely with plastic wrap or a damp cloth. This traps moisture and creates a warm environment that encourages the yeast to continue working and the rolls to rise.
-
Time for Patience: Let the rolls rise in a warm, draft-free spot for 30-45 minutes, or until they’ve nearly doubled in size. This first rise allows the gluten to relax and the air pockets to expand, resulting in light and fluffy rolls.
-
Baking for Golden Perfection
-
-
Once the rolls have completed their first rise, it’s time for the final step – baking!
-
Preheat the Oven: While the rolls rise, preheat your oven to 375°F (190°C). This ensures the oven is at the optimal temperature for baking, guaranteeing a beautiful rise and even browning.
-
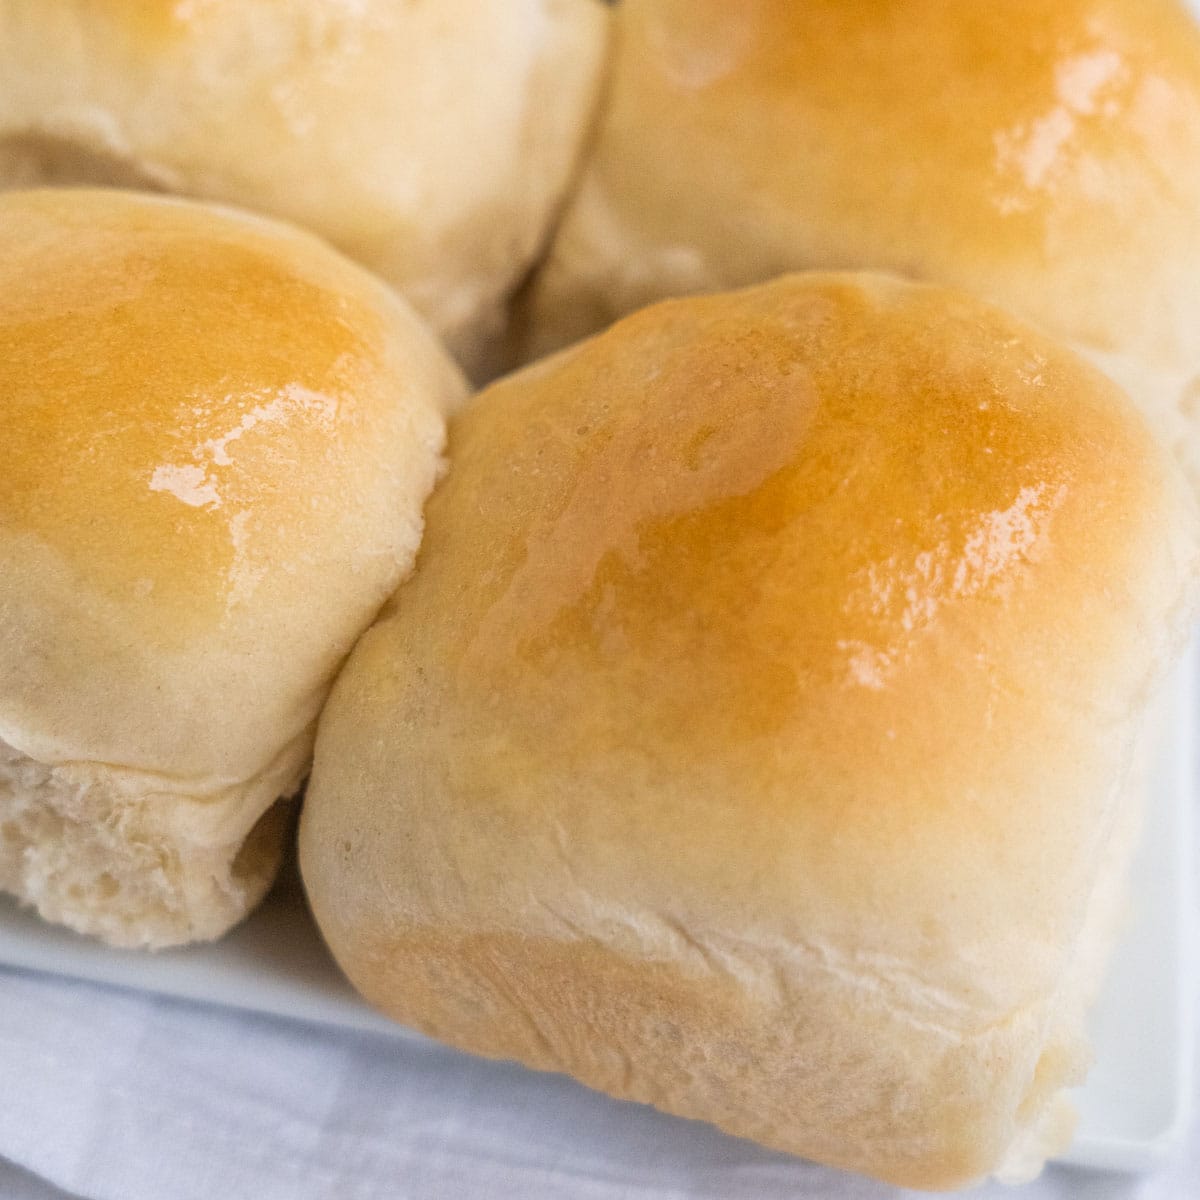
Brushing for Shine (Optional): For a touch of golden brown color and sheen, you can brush the tops of the rolls with melted butter or milk.
-
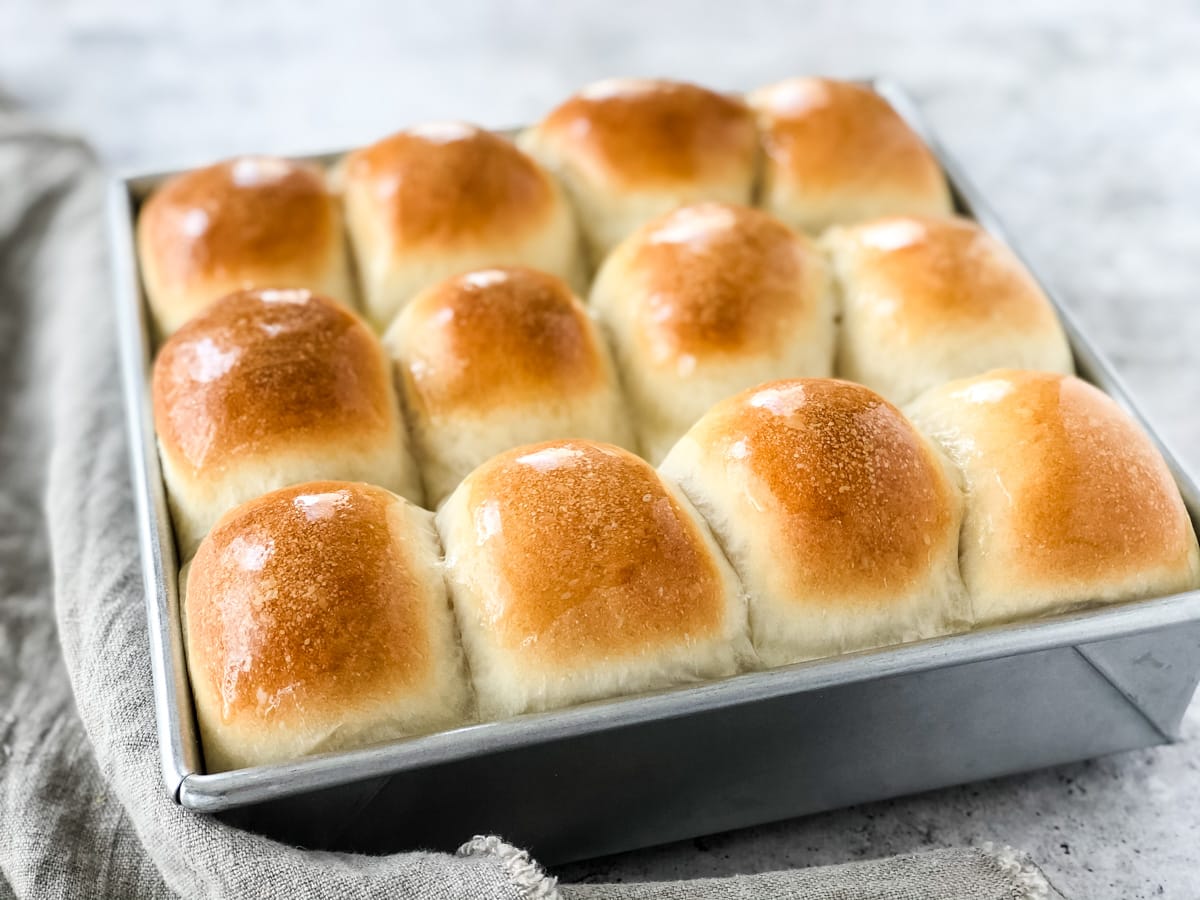
Baking to Delicious Results: Bake the rolls for 15-20 minutes, or until golden brown on top. Keep an eye on them during the last few minutes to ensure they don’t overbake and become dry.
Cooling and Enjoying Your Homemade Masterpiece
The delicious aroma of freshly baked rolls will fill your kitchen! Here’s how to enjoy them:
-
Resting Before Indulging: Once baked, remove the rolls from the oven and transfer them to a wire rack to cool slightly. This allows the interior to finish cooking without becoming soggy.
-
Warm or Room Temperature Bliss: Enjoy your homemade bread machine yeast rolls warm or at room temperature. They’re perfect on their own, smeared with butter, or drizzled with honey or jam.
-
Versatility Beyond Breakfast: The beauty of these rolls lies in their versatility. Serve them alongside soups and stews, use them as burger buns, or even slice them open and toast them for sandwiches.
Tips and Tricks for Bread Machine Success
Here are some helpful tips to ensure your bread machine yeast rolls turn out perfect every time:
- Warm Ingredients Promote Rising: Using lukewarm water and softened butter encourages optimal yeast activity for a good initial rise.
- Don’t Skip the First Rise: The first rise outside the bread machine allows the shaped rolls to develop further structure and air pockets, leading to a light and fluffy texture.
- Oven Temperature Matters: Ensure your oven is fully preheated before baking. The correct temperature guarantees even baking and a beautiful rise.
- Under-bake for Softness: Err on the side of slightly under-baking the rolls. They will continue to firm up as they cool on the wire rack.
Variations and Customization Ideas
Feeling adventurous? Consider these variations to personalize your bread machine yeast rolls:
- Sweet Variations: For a touch of sweetness, add a tablespoon of honey or maple syrup to the dough along with the wet ingredients. You can also sprinkle coarse sugar on top of the rolls before baking for a delightful caramelized crunch.
- Savory Options: For savory rolls, consider adding grated cheese, chopped herbs, or everything bagel seasoning to the dough. These savory rolls pair perfectly with soups and stews.
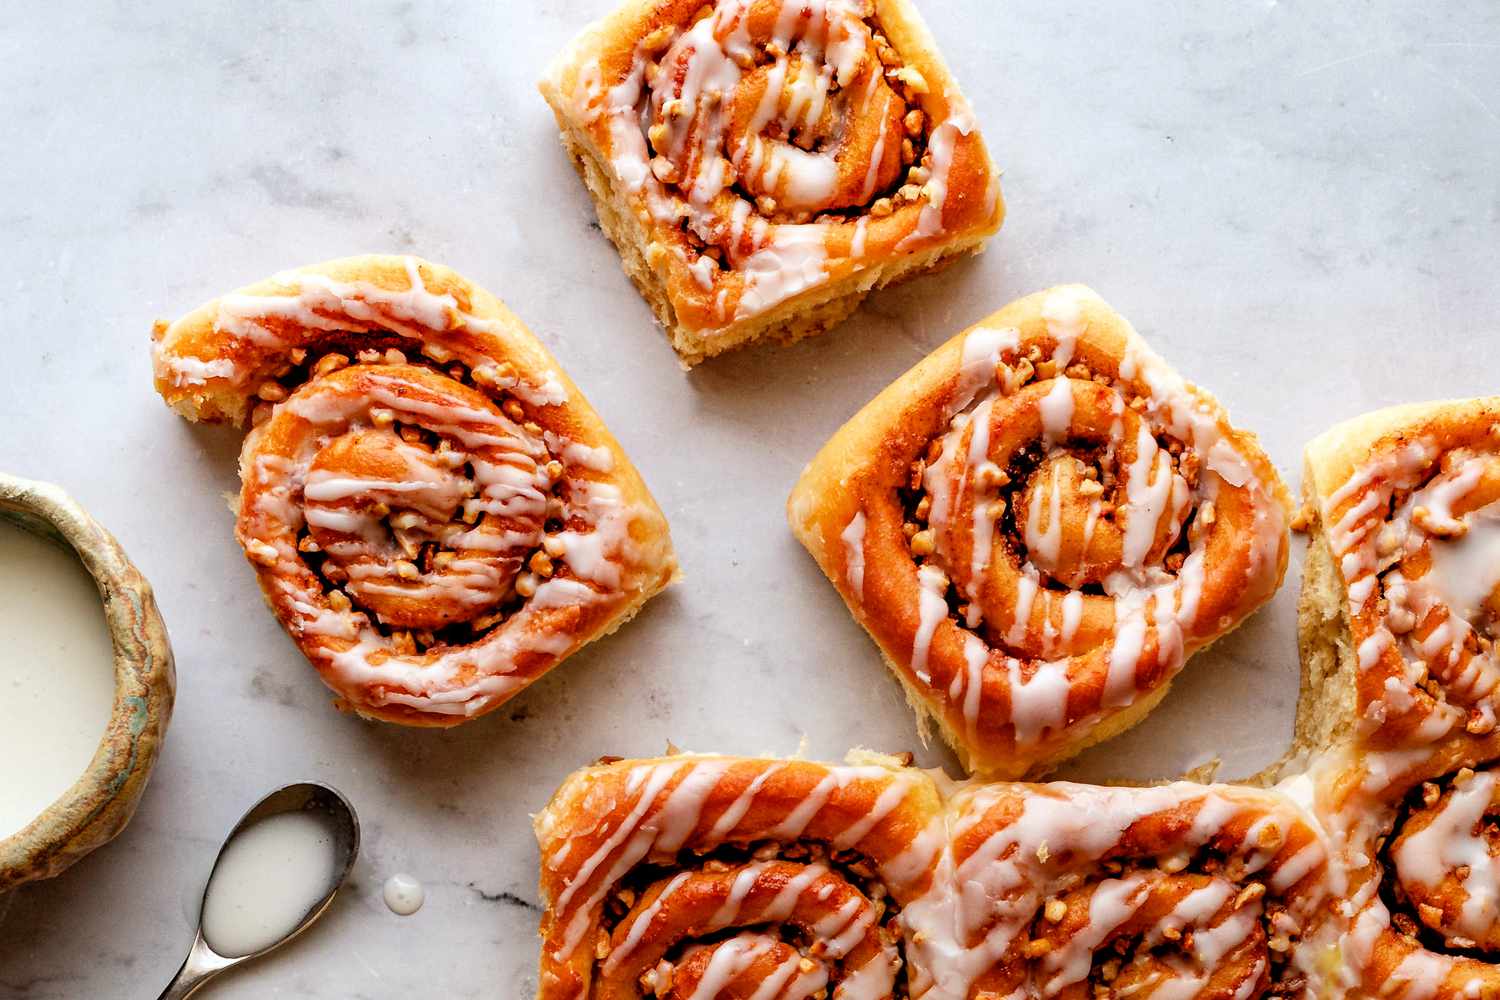
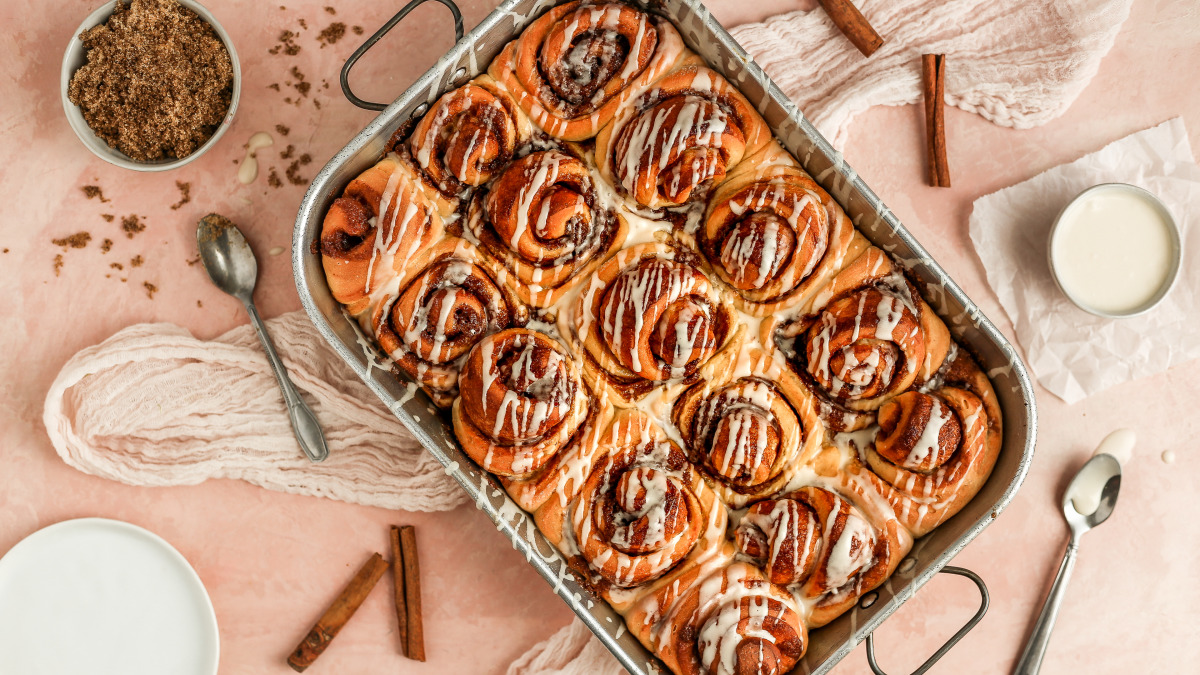
- Filling Inspiration: Get creative with fillings! These rolls can be stuffed with savory ingredients like meats and cheeses, or sweet fillings like chocolate chips or fruit jams.
Conclusion: The Joy of Effortless Baking
Bread machine yeast rolls offer a convenient and rewarding way to enjoy fresh, homemade rolls. With the help of your bread machine and these simple steps, you can create these fluffy delights in no time. So, gather your ingredients, preheat your oven, and embark on this delicious baking adventure! You’ll be amazed at the joy of creating warm, homemade rolls right in your own kitchen.
-